
The Easiest Way How to Learn How to Read
Teaching someone how to read might feel like an overwhelming task at first glance. There are 26 letters and 26 initial sounds which makes a total of 52 items to memorize. Then the child (and parent) realize that many of the letters make more than one sound. And you can start to combine two or three sounds to make a lot more unique sounds. At this point, we pretty much have lost everyone. They all agree that learning to read is just too hard for both the parent and the child. But wait, don’t quit yet! I found that the trick to learn how to read is to only teach a few sounds at first. You do not need to know all the letter names and sounds to learn how to read. Now it becomes more doable and way less intimidating for everyone.
4 Consonants and 1 Vowel
When working with struggling readers, I discovered that if I took four consonants and one vowel I could teach the process of learning to read without overwhelming the kids. The brain will work to make patterns out of what it’s doing and all it takes is five letters to begin this process. This is huge! The kids were amazed that I was only asking them to learn 5 sounds. Every one of them agreed that they could do that much. Here’s a short video of the process of how to learn how to read.
Notice Mouth Movements
Next I discovered that certain sounds are easier to produce and memorize, especially with struggling readers. They are easier because they sound different from the other sounds being taught and they are produced in different areas of the mouth. For example, the sound of /m/ and /s/. Make each sound and notice the position of your mouth and tongue. Did you notice how your mouth moved very differently when making each of the two sounds?
Now try /b/ and /p/. Did you see how similar they were? This is why in the beginning of learning to read we want to pick our sounds carefully. Choosing the right sounds to start with helps kids to differentiate between sounds and file and retrieve these sounds later during the reading process. Another trick for someone having difficulty telling the difference between similar sounds is to use a mirror. Let the child look at his mouth when he is making each sound. This will give him more information which gives his brain more substance to grip or hold on to and then also to recall later.
7 Components in Learning How to Read
Now, there is more to learning to read than just learning sounds. There are actually 7 components to the learning to read process: Phonemic Awareness; Alphabet Knowledge; Decoding/Phonics; Sight Words; Comprehension; Fluency and Vocabulary. You can find more information for all these areas in the links above.
But wait, you don’t need to know any of that information right now. You are just going to concentrate on the five first sounds and how to combine them together. All the other steps will flow more naturally when we begin with just this little bit.
The Most Effective Way to Teach Reading
Studies have shown that the most effective way to teach reading to all types of learners is with a program that is:
- research based;
- directly taught in a sequential and cumulative manner;
- uses multi-sensory techniques;
- offers review and repetition as needed;
- is phonics based.
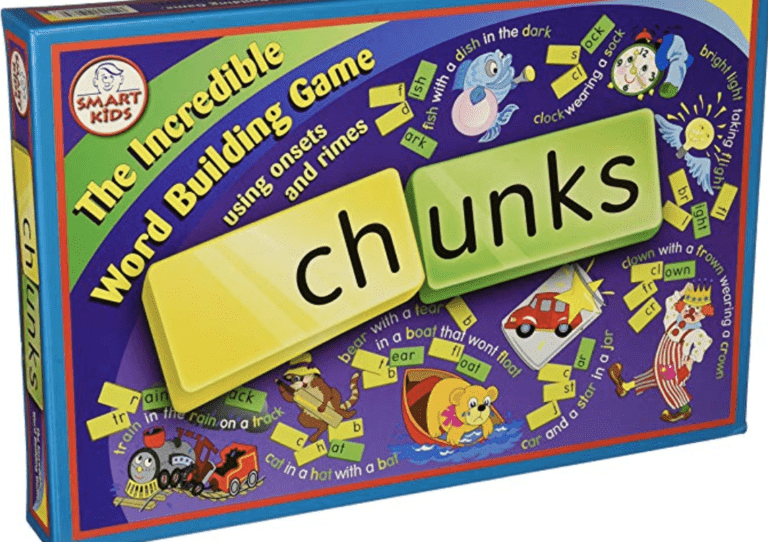
In other words, taught in identifiable chunks of knowledge, according to a definite map of what chunks to know at what time and in what order, and utilizes a specific learning technique. Each new progression builds on the previous step.
Reading Blocks
That’s exactly what we are going to do right now. The Reading Blocks: A Step By Step Method to Teach Reading covers all these bases so that’s what we are going to use. Reading Blocks contains 32 blocks or chapters. Each chapter moves the child farther along in the skills of learning how to read. In this article, we will work on Block 1, the first block in our progression of learning how to read.
Learn How to Read with Block 1
Block 1 begins with using only four consonants and one vowel sound. The four consonants are: /m/, /p/, /s/, and /t/. The vowel is: /a/. Using only these five letters, the reader can make several words to use for practicing blending, segmenting, and reading skills.
After the first five sounds are mastered , the parent/instructor can begin making different letter combinations (word families) on a file folder and practice blending the sounds. Some examples of these word families are: at, an, ap, and am. A non-reading person becomes highly motivated to read when he discovers that he can read several words with just the first few sounds.
These words can also be put onto index cards or made into mini books to reread and practice. The learner begins to develop a more positive attitude about reading as he begins to see some success.
Sight Words
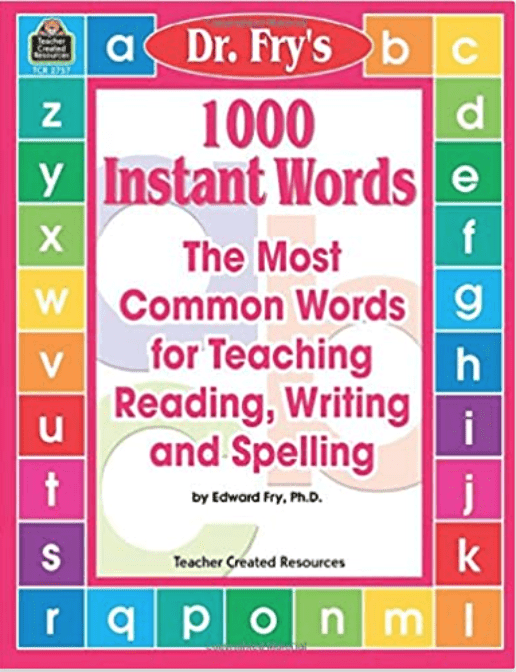
The next bit of information for learning how to read that we are going to be using in this lesson is something that we call sight words. Sight words are the most common words used repeatedly in every type of reading material. Many of these words do not follow the phonics rules and need to be memorized in order to maintain fluency and comprehension when reading. The sight words for our first block are: at as am the a map sat to too two.
The sight words can be made into flash cards by writing each individual word on an index card. We will be practicing them in this lesson.
Multi-sensory Techniques Builds a Stronger Reader!
The last bit of information that will be helpful is something called multi-sensory techniques or methods. You do not have to know this but if your child is struggling with any kind of learning this technique will help you. An activity can be considered multi-sensory when more than one sense is used to complete a task. For example, tracing a letter on sandpaper while saying the sound aloud is a multi-sensory activity. This double action simultaneously activates more than one pathway in the neural systems of the brain, which helps the individual to remember the targeted task.
Your goal is to build a strong pathway in the brain for the necessary phonological information for reading. This is done with explicit instruction and repeated practice. Picture the brain like an open field. You travel through that field every day for a shortcut. Eventually, there is a pathway worn into the grass from taking that shortcut. We want to develop these pathways in the brain which are necessary for reading effectively. These pathways are built with repeated practice. Good readers already have these pathways but struggling readers can develop these pathways using multi-sensory methods and repeated practice. You can find a whole list of multi-sensory methods here.
Video Lessons
If all this seems like too much to know, you can find a video lesson here. The video can be used for introducing and teaching each individual block or for extra practice after the block has been introduced by the parent or tutor.
So far we have the sounds we are going to use and the sight words we want to teach for this level. Now we need the “directly taught, sequential and cumulative” part of the process. That will be Block 1. Block 1 follows this format:
- Review – review previously learned material.
- Introduce New – introduce new material and practice together.
- Activity – reader independently practices new material.
- ReGroup – discuss and review new material after independent practice.
- Writing – practice independent writing using new material.
- Reading – practice independent reading using new material.
Since this is the first block, we don’t have material to review so we can review some phonemic awareness material or just skip this step. The phonemic awareness material can be found here if you want to do this part.
First Step in Learning How to Read – Block 1
1. Review
This is the phonemic awareness activity and that can be found here if you want to do it. If you want to keep it a little less complicated, continue with the next step, Introduce New Sounds.
2. Introduce New Sounds:
a m s t p
Write each letter on a post it note. Use one color for all consonants and a separate color for all vowels. For example, use a green color post it note for the letters m, s, t, and p. Use a pink post it note for the letter a. Write all in lower case only.
Introduce each sound separately.
Show the letter, then say the name, then say the sound. “This is the letter a. The sound we make for this letter is /a/ like the first sound you hear in apple.” The reader should trace the letter while saying the sound, at least two or three times.
Next have the reader close his eyes and picture the lower case version of this letter written on a big whiteboard (or choose a favorite colored board). Mentally visualize the letter written in red ink, then yellow ink, then purple ink. This might be difficult at first but becomes easier with practice.
Air Write
Now have the reader air trace the lower case letter with big arm motions using the pointer finger. (Eyes are still closed.) Use whole arm while air writing (shoulder should be moving not just wrist). Say the sound out loud while air writing the sound.
Sand Tray and Sand Paper
Next use the sand tray or sand paper and have the reader write the lower case letter while saying the sound. Use the index finger for this “writing”. The sand tray is best in the beginning because the reader can see and feel the letter he is forming. Remember multi-sensory means using more than one sense to get information to the brain.
Writer in Binder or Notebook
Finally, have the reader write this letter in the “Sounds” section of his binder. Some readers will also need a picture clue for the sound. The reader can cut out a couple of pictures that begin with this sound and glue the pictures by the letter in the binder.
The reader can also choose to begin a sound book for extra practice if remembering the sounds is difficult. The sound book can be made with index cards with a hole for a metal ring to slide through and keep the book together. The front of each card can have the letter and the back of the card can have the picture clue to the sound. The sound book is more portable than the binder and can be taken with anywhere for a few minutes of extra practice.
Introduce New Letters
Now introduce the next letter. Follow the same procedure with each letter. Each reader is different. You might get to all five sounds in one lesson or you might only do one or two. Adjust your speed according to the needs of the reader
Post It Notes
When all the sounds are introduced, write each letter on a post it note and place it on the top portion of the file folder. (The vowel should always be a separate color from the consonants, and all the vowels should be the same color.) Point to each letter and say the sound. Then have the reader say the sound. Next, point to each letter and have the reader say the sound by himself. If the reader has trouble with any sound, continue to visualize, air write, and trace in sand. You can also choose more multi-sensory activities from the Introduction section if needed (such as trace on back, trace on palm, etc.)
Blending Sounds into Word Families
After all the sounds are introduced, practiced and placed in the file folder, you can begin to blend sounds and make words. Begin with the “at” word family first. Move the post it with the letter “a” down to the middle of the file folder and have the reader say and count the sound. Then move the letter “t” near the letter “a”, but not touching, and have the reader say and count the sound. Now move the letter “t” so it is touching the letter “a”, and combine the sounds to form the word “at”. Say the word “at” together and count the sounds you hear (/a/1, /t/ 2).
Multisensory Methods
This process of moving the separate letters together is a visual and kinesthetic activity which will help the reader to absorb the mental process of combining sounds to form words (reading) as well as the opposite of separating words into separate sounds (writing).
Word Family “at”
“At” is your first word family. Use your other three letters from this lesson to make, count, and read three more words. Make, count, and read each word separately by moving the post it notes. You will make the words: at, mat, sat, and pat. Have the reader manipulate the post it notes to make the word, count the sounds, and read the word. Write each of these words in the binder section “Sounds/Word Families/Rules” after practicing making them and reading them. When this activity is sufficiently practiced, make another word family using the same sounds but in a different order.
at: pat sat mat
am: sam pam tam
ap: tap map sap
as: pas mas tas
After completing each word family, write the words in the “Sounds/Word Families/Rules” section of the binder. These words can also be written by the instructor on index cards to use for review.
You can demonstrate how to make bigger words using more of the letters: mast, past, tamp and stamp (which uses all of the letters.) The reader will do activities of this nature later in the program on his own. This helps him to become accustomed to making and reading larger words.
3. Activity
1. Make glue and sand alphabet cards with the five first sounds. (a m s t p) Write the lower case letter on an unlined index card, in a big blocky style. Use puffy glue to trace over the letter and let the glue dry. Another version is to write the letter on an unlined index card, trace over the letter with any type of glue, and sprinkle with sand while the glue is still wet. Allow the glue to dry. These cards can be used to reinforce the sound to make for each letter. They are very useful when the reader is having difficulty remembering the sound or is confusing similar sounds such as b, d and p.
2. Cut out letters from the activity sheet at the end of this block. Use the letters to make and read words. Make and read as many words as possible. Write all words in the binder section “Sounds/Word Families/Rules”. Pretend words can be made, read, and written also.
3. Make a “Flip Book” with the activity sheet at the end of block 1. Read all words silently and then out loud.
4. Regroup
The reader can read aloud all the words he made in the activities. Discuss and practice any areas of difficulty. Make a note of any skill needing additional practice and place it in the file folder for a reminder to practice this skill in the review section of the next block.
Introduce sight words for Block 1:
at as am the a map sat to too two.
Write all the sight words on index cards.
Ask the reader to trace over the word several times while saying the word out loud. Then have the reader visualize the word on a mental black board or white board and then change the background colors several times and change the letter color several times.
Air Write
Next have the reader air write the word with eyes closed, while visualizing the word. Use the whole arm and not just the wrist for this movement. You want to include large muscle groups as much as possible. Mentally change the texture of the letters while air writing. Pretend the word is written on the floor and march out the letters.
Introduce the phonics rule for Block 1:
Every syllable must have a vowel that you hear. You can count the number of syllables in a word by saying the word and counting the number of vowels that you hear. You will not do too much with this rule right now because your reader has only practiced one vowel. Point out all the words he made in this block and have him notice that every word he wrote for this block uses the letter “a” because every word must have at least one vowel. Explain that as you learn more vowels you will make more words and demonstrate this rule further.
5. Dictate Sounds, Words, Phrases or Sentences
The instructor will say the sound and have the reader write the sound in his binder in the Dictation section. Check as the reader is writing. Instantly offer feedback such as “Great job!” or “Good try but let’s take a look at /t/ again. Let’s air write and visualize the letter t again. Great! Now let’s write the letter for the /t/ sound in the binder.” Do this whenever you notice he is representing a sound with the wrong letter. This can be challenging when the reader has been previously attaching the wrong sound to a letter. You want to make sure you are seeing what is being written and making corrections instantly. You will begin the dictation with sounds and move on to words, phrases and sentences.
Sounds: /a/ /t/ /m/ /s/ /p/
Words: pat sat mas tas sam pam map tap
Note: the reader should repeat the word after you, count the sounds that he hears, and then write the word as he says each sound that he counted.
Phrases/Sentences: at the map to the map Sam sat. Pam sat. Pat sat too.
Note: the reader should repeat the phrase or sentence after you and then write the phrase or sentence. He can also count each word in the phrase or sentence to help him remember how many words he needs to write. For example: at the map, at-thumb, the-index finger, map-middle finger. Then he writes each word as he holds up that finger.
6. Read
Reader reads everything written in the notebook for Block 1.
Reader reads the Reading Card for Block 1.
Reader reads the Flip Book for Block 1.
Reader reads the Mini Book for Block 1.
Congratulations! You completed Block 1 and are well on your way to learn how to read!
You can purchase the complete Reading Blocks Reading Program here.
On Sale Today!